Learn how to integrate one of today's most widely used JavaScript libraries into your Liferay portal!


React is a JavaScript library that allows you to create dynamic pages with highly reusable components. It is one of the most popular libraries in the JS community, so as a Liferay developer, you certainly don't want to miss out on this.
With Liferay, you can easily use React, or other JS libraries and frameworks, to compose your pages. Today we will discover how to integrate a Liferay widget with a React application.
Why use React in Liferay?
React makes it easy to create complex layouts with JavaScript. In Liferay, it is very common to build screens using Freemarker. It is a template engine used for building templates in Liferay, which ends up composing most of the pages.
It is a Java-based technology and may not be known by everyone. Therefore, there are times when using a tool like React dramatically accelerates project productivity.
How does it integrate with Liferay?
Widget (also called Portlet) can be thought of as any component that represents a section of a page that has an independent backend and frontend.
There are several types of widget, and the one we're going to look at today is a specific widget for providing a React application that can be instantiated on any page of your Liferay server.
It is worth mentioning that there are other ways to integrate a React application into your portal, such as React Fragments and Remote Apps.
In addition to React Widget, Liferay provides a complete headless API with various endpoints that allow you to interact directly with your server's data, such as Web Contents, Users, or even Permissions.
Getting down to work
On our YouTube channel, we have a video explaining step by step how to implement a React Widget from scratch. Check it out and subscribe to the channel!
The first step is to set up a Liferay environment. If you don't know how, we have 2 videos teaching you how to set up a server from scratch. This one is for a Linux environment and this one is for a Windows environment.
After setting up your server, you need to create the module within your workspace. For this, we will use Liferay CLI, a command-line tool created by Liferay to facilitate the creation of JavaScript applications and which came to replace the infamous Yeoman.
Install it with your preferred package manager, here we use npm:
npm install -g @liferay/cli
Now enter the modules folder of your workspace
cd <workspace root>/modules
Create the module (replace <news-react-widget> with the name of your module)
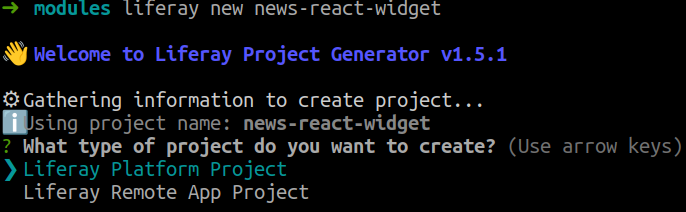
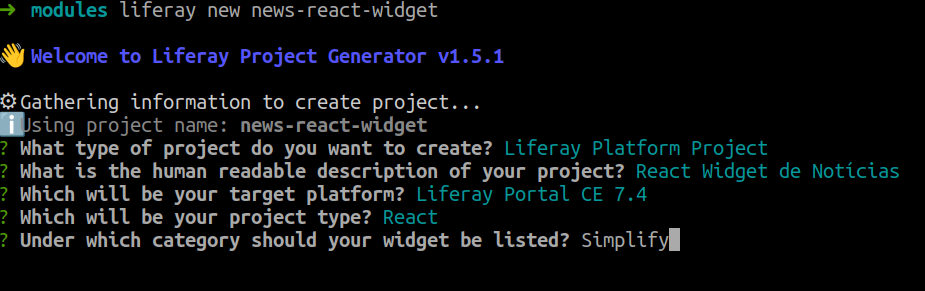
liferay new news-react-widget
Select Liferay Platform Project
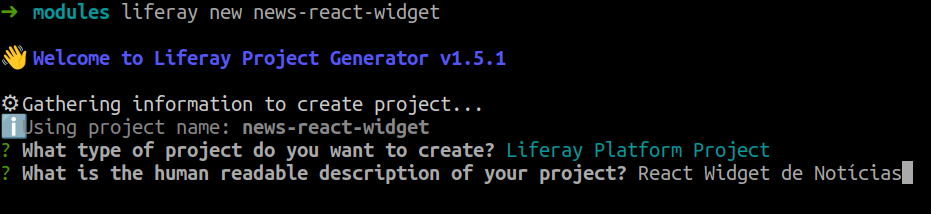
Provide a brief description of your project
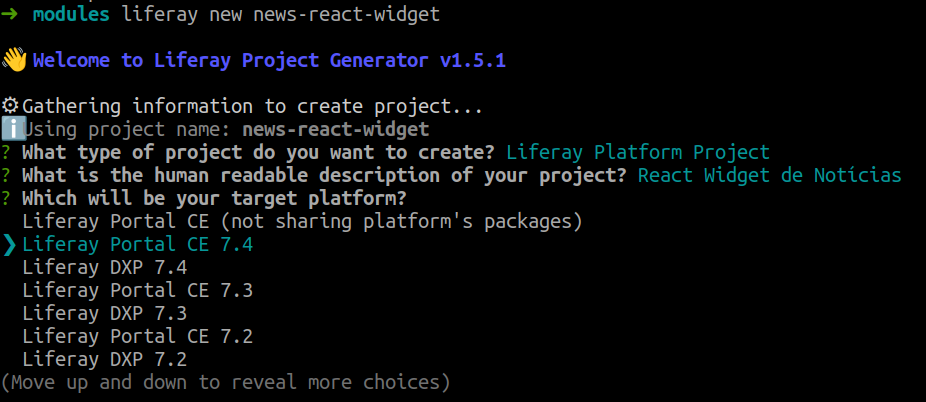
Choose the version of your portal. Note that CE stands for Community Edition, which is the free version of Liferay. DXP is the Enterprise version, which is paid. Here we chose the Liferay Portal CE 7.4 version (be careful not to select the version with the option “not sharing platform's packages”, this detail will be for another post)
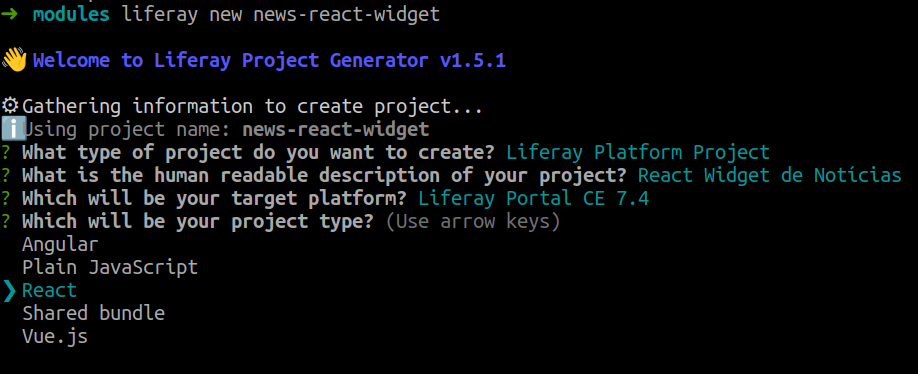
Choose React as the project type. Here we can see the default support that Liferay offers for Angular and Vue.js
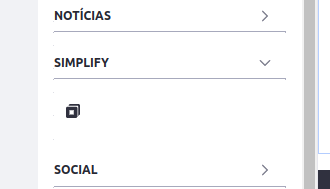
Finally, choose the name of the category where your Widget will be displayed on the portal. This category will be displayed in the Widgets menu of your portal. Our category will be called Simplify
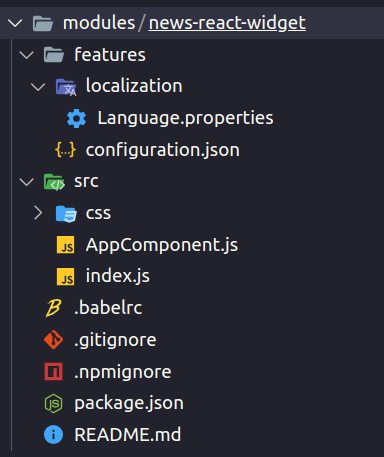
If we now open our project in VS Code, we can see that a module has been created in our workspace
To deploy this module, simply enter the folder and run the gradlew deploy command
cd news-react-widget
blade gw deploy
Liferay CLI also provides a command for deploying modules, but it is a bit unstable, so we recommend always using blade
If you haven't installed blade yet, check out our video Installing and showing BLADE IN PRACTICE
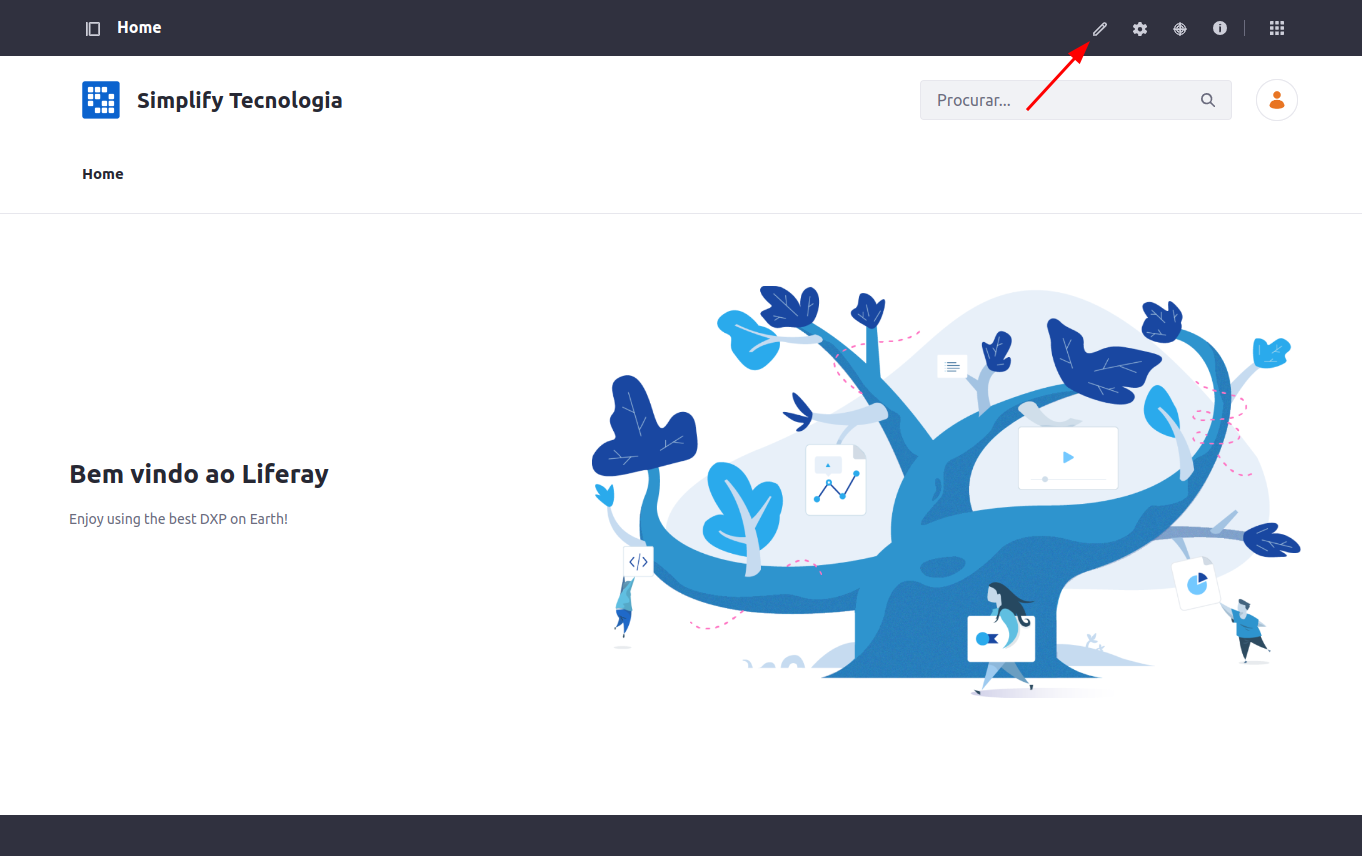
Now just enter your Liferay server and drag your new React Widget onto a page!
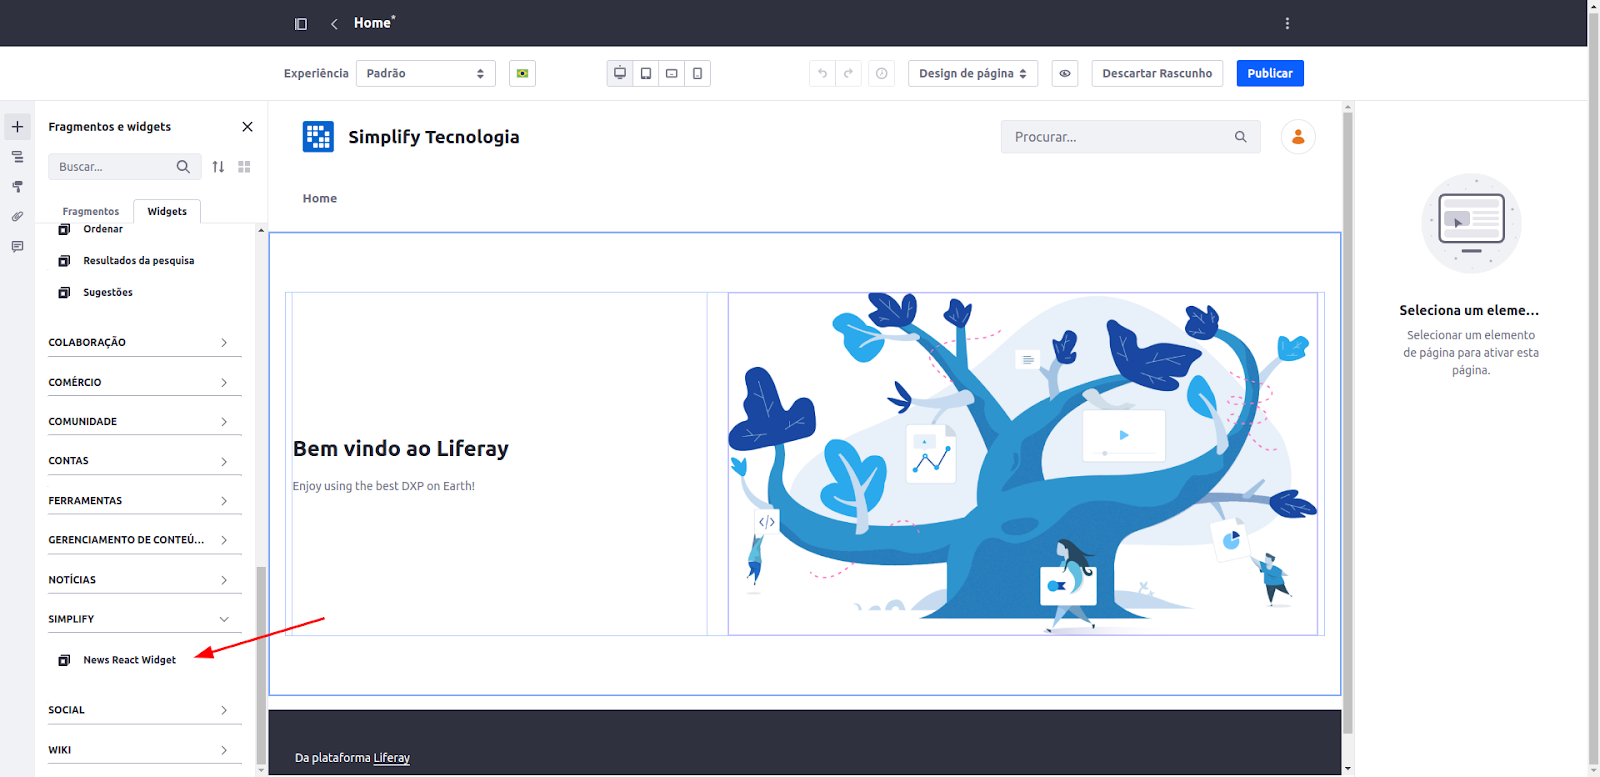
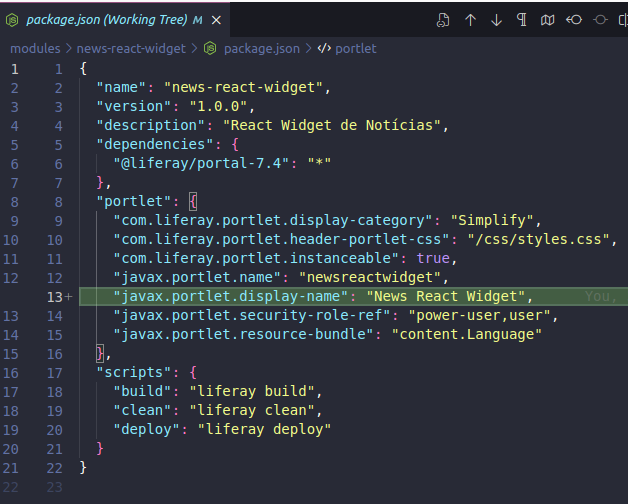
In this version I'm using (Liferay CE 7.4-ga102) a bug occurs where the created React Widget appears without the name in the Widgets panel
To solve this problem, just add the following line to the package.json file in the generated module and deploy it again
Your instantiated widget on the page should look like the one in the image below
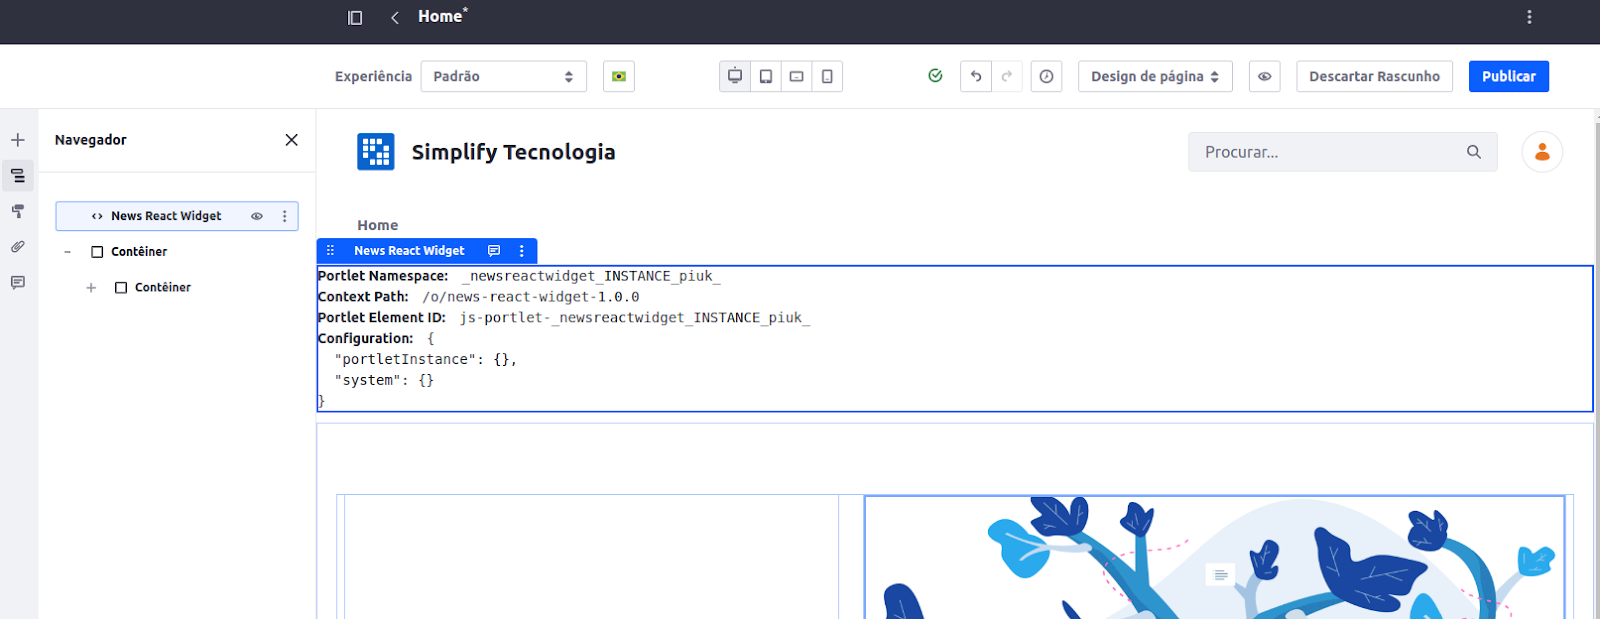
It only displays some metadata of the widget and its settings.
These are all the steps necessary to create and deploy a React Widget. For any modification made to the module code, you need to deploy it again.
Until next time!